0. FDM / FFF 3D Printing
So first, I thought of something small and useful that I could print in under half an hour, and I decided to go with a safe guard for the USB-C cables as one of my instruments cable has been getting damaged at the bending point near the connector. Then I went into Printables to find a model that I could slice and print in the Prusa machine, and I found this one: USB-C Cable Protector. I downloaded the STL file and imported it into PrusaSlicer to prepare it for printing.
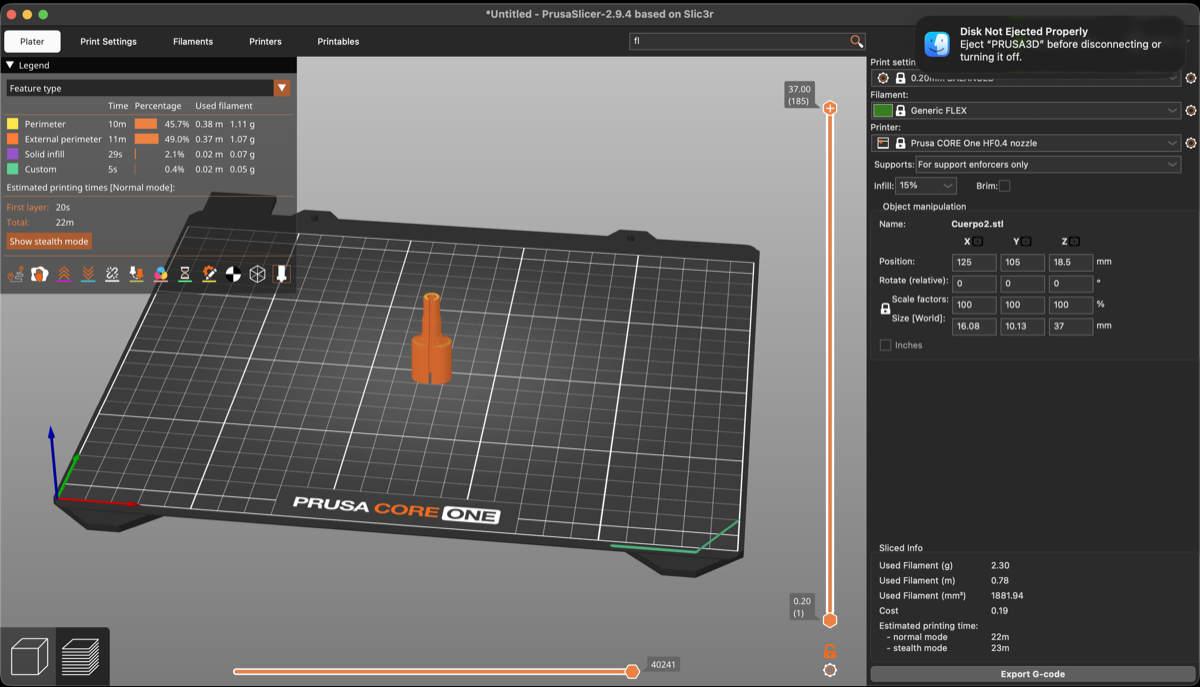
It worked perfectly!
1. Parametric Model
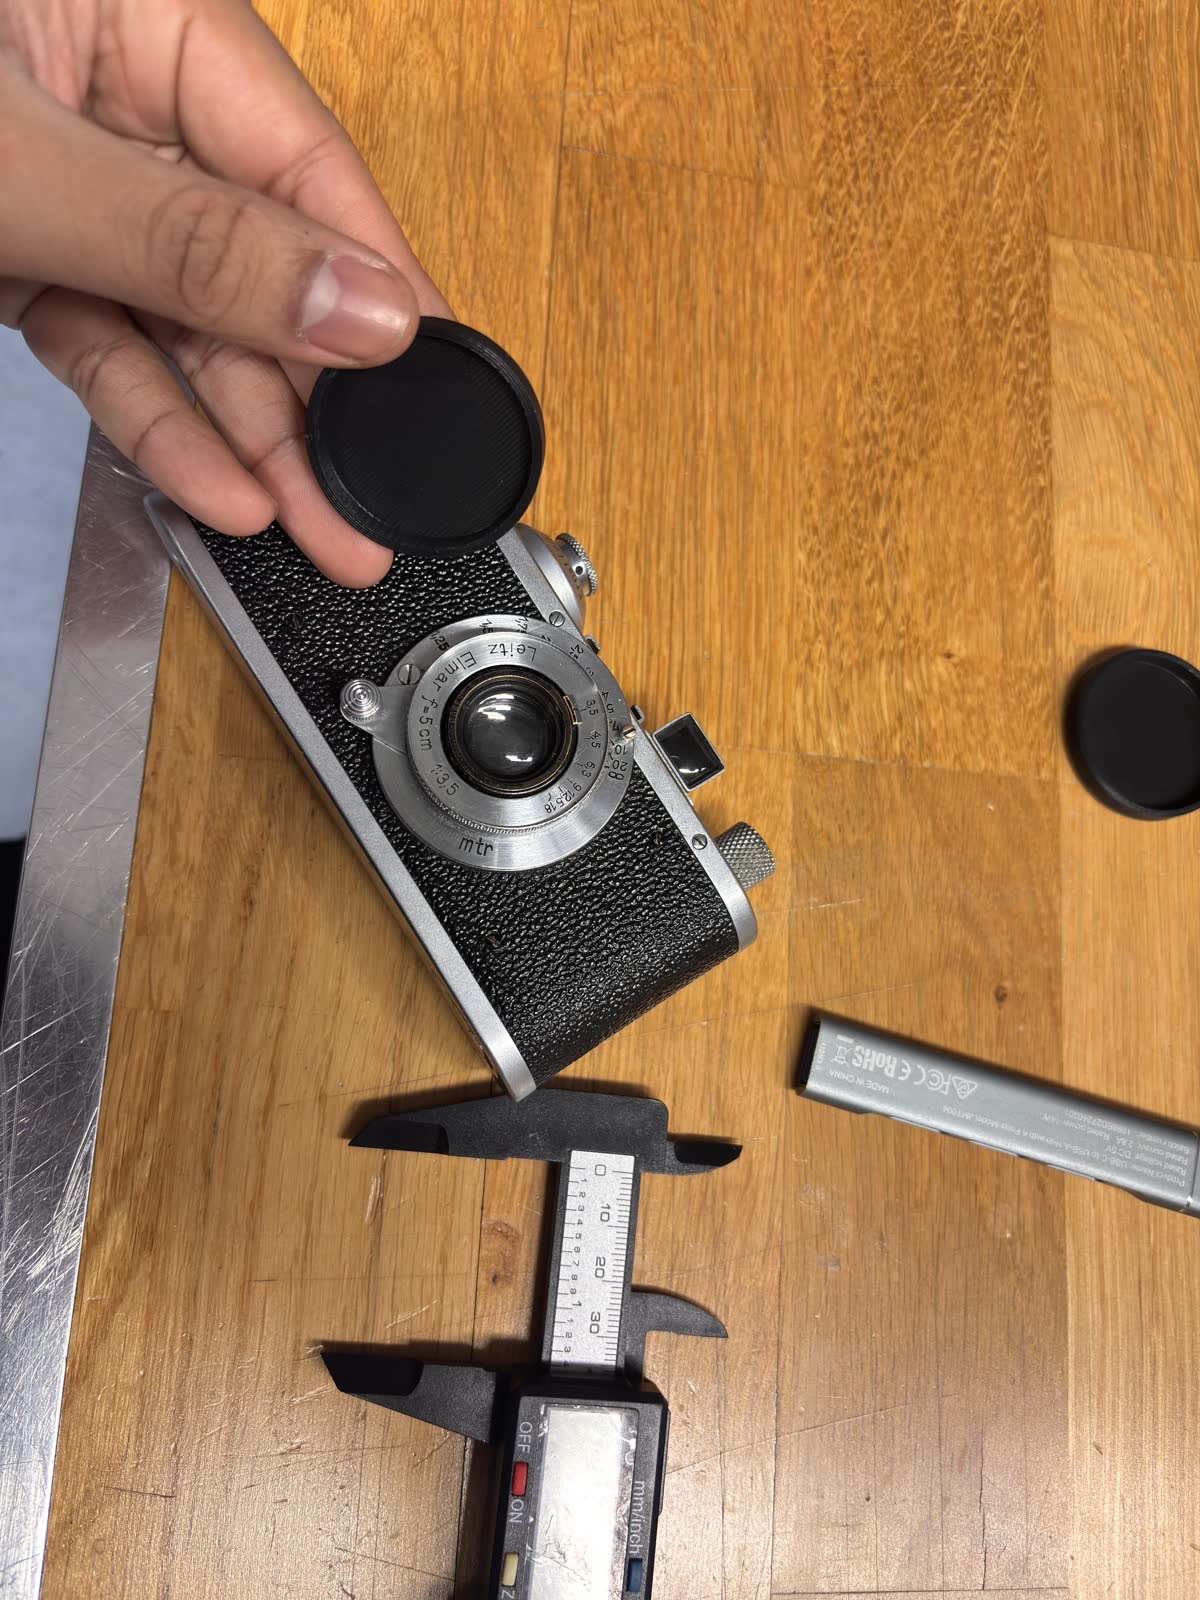
Well, I somehow have gotten slightly more familiar with FreeCAD, so I decided to overcome my fears and actually do this task. I happen to own a film camera that finding a cap for is either quite impossible, so I came up with the idea of doing a parametric model from the measurements of the lens I did using a caliper.
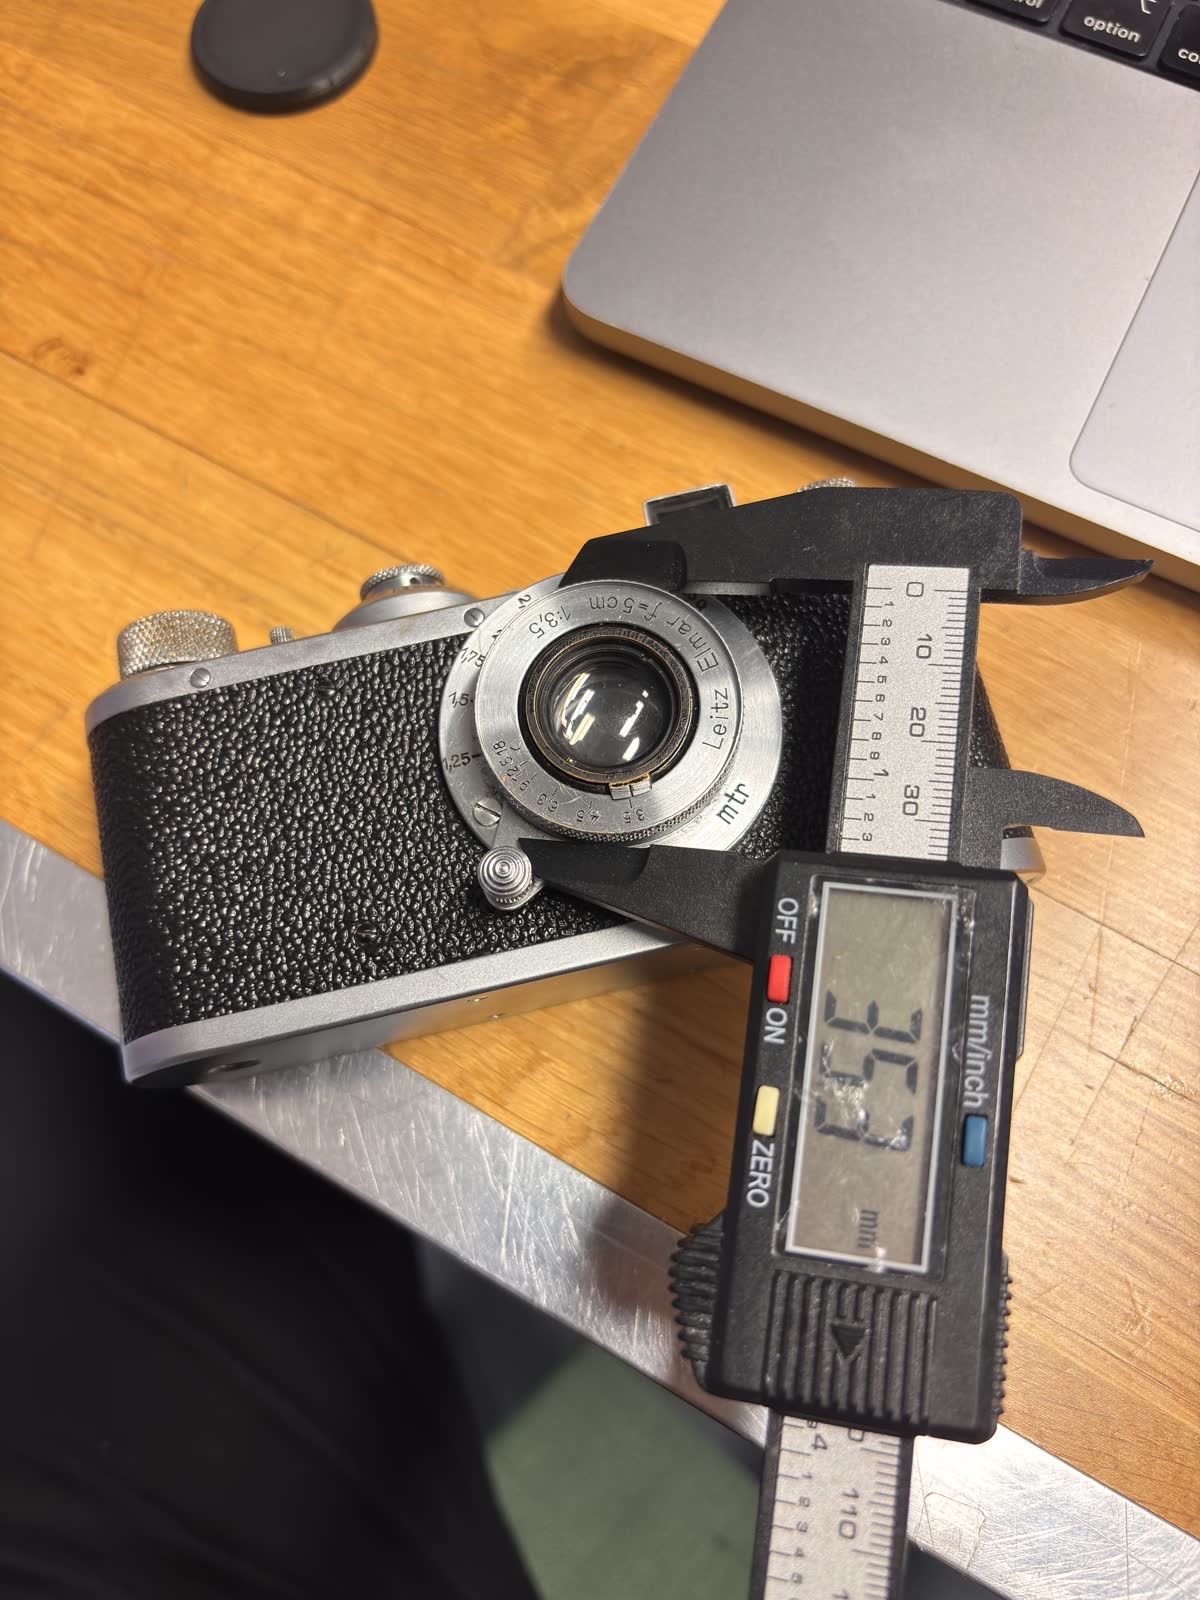
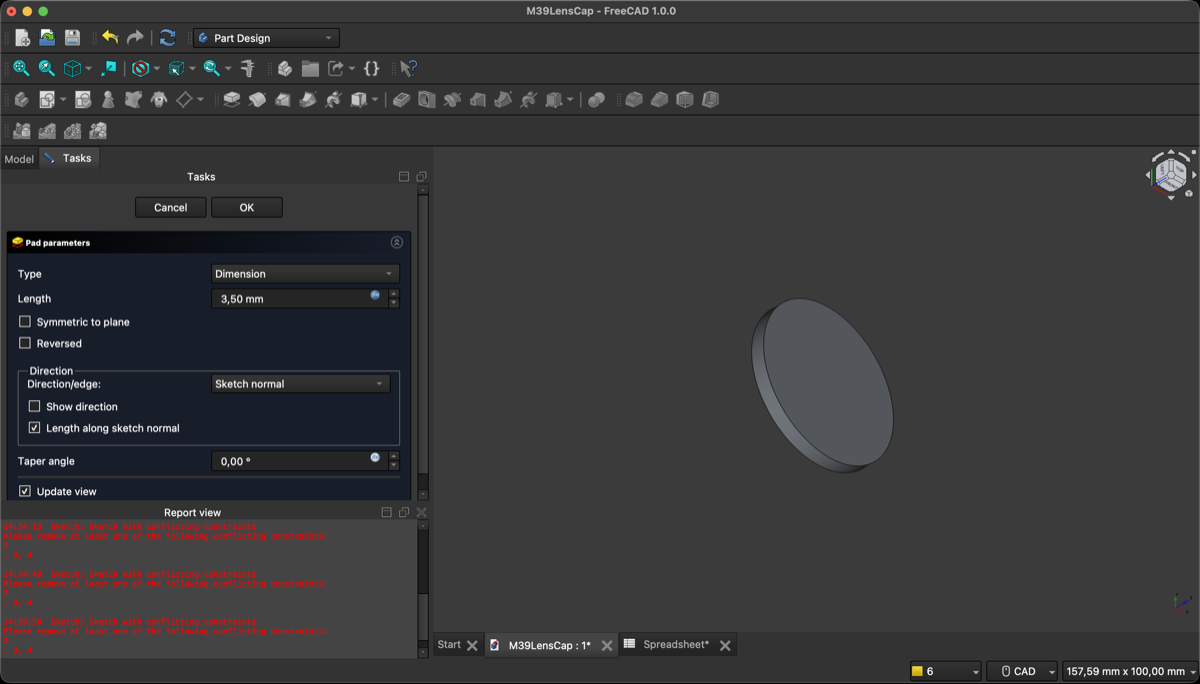
Then I introduced the measurements into a FreeCAD spreadsheet and created a 3D model of the lens cap, using a combination of sketches, extrude, pocket and bevel features. I made sure to keep the design parametric by linking the dimensions in the sketches to the values in the spreadsheet, so I can easily adjust the size if needed.
2. Slicing with PrusaSlicer
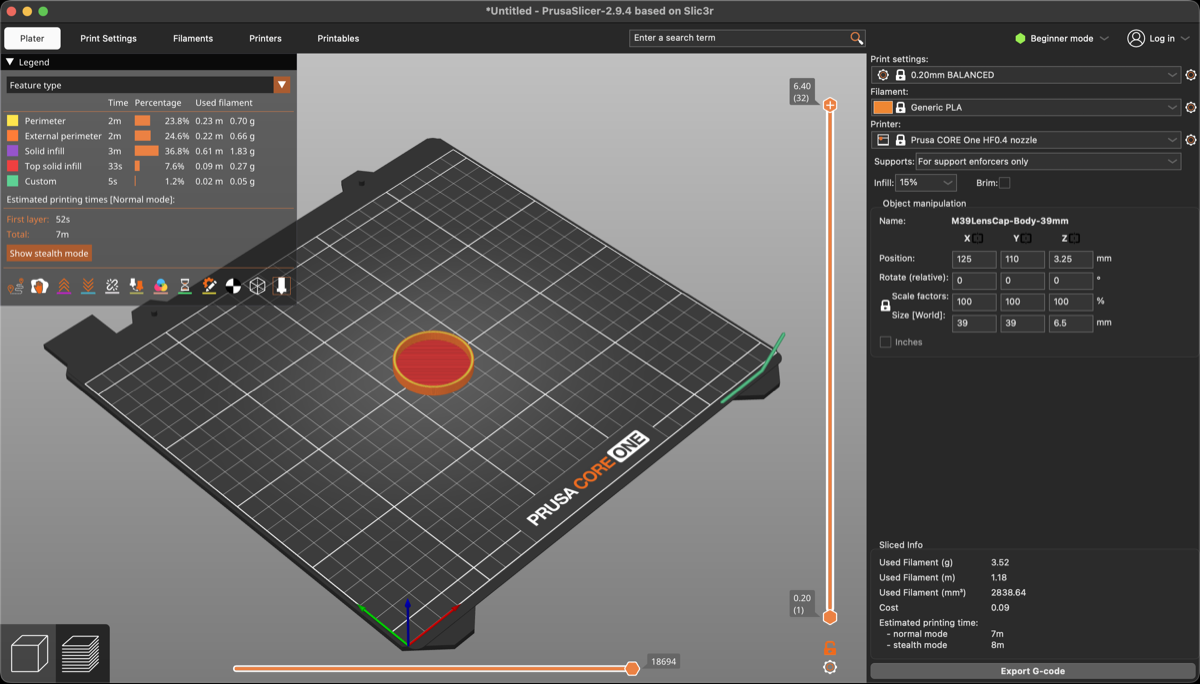
After designing the model, I exported it as a STEP file and imported it into PrusaSlicer to prepare it for printing. I chose a layer height of 0.2 mm for a good balance between print quality and speed, and I set the infill to 20% with a grid pattern for sufficient strength while keeping print time reasonable.
3. Printing
I 3D printed the model using the Prusa CORE ONE printer at the Aalto Fablab, and it came out great! The dimensions were slightly off on the first try and it couldn't fit the lens, so I went back to FreeCAD and adjusted the dimensions in the spreadsheet, which automatically updated the model, and then I re-exported it and printed it again, and this time it fit perfectly!
4. Project Files
Download the files: 3dPrinting-assignment.zip